- Quick Summary
- Proper filter press sizing requires calculating dry solids load, determining chamber volume based on cake density and cycles per day, then selecting appropriate plate size with 20-30% extra capacity for growth.
- Common mistakes include ignoring pump limitations, using theoretical instead of real-world cycle times, and forgetting about cake thickness variations.
- Start with accurate data on solids loading and slurry properties, use realistic 2-4 hour cycle times, and always test with actual material when possible to ensure optimal sizing.
Choosing the right filter press size is like picking the perfect pair of shoes. Too small and you’ll be uncomfortable all day. Too big and you’ll trip over yourself.
The same goes for filter presses. Pick one that’s undersized and you’ll create production bottlenecks that kill your throughput. Go too large and you’ll waste money on equipment that runs inefficiently.
As a filter press manufacturer with 10 years of experience, I’ve seen companies make both mistakes. And trust me, neither is pretty.
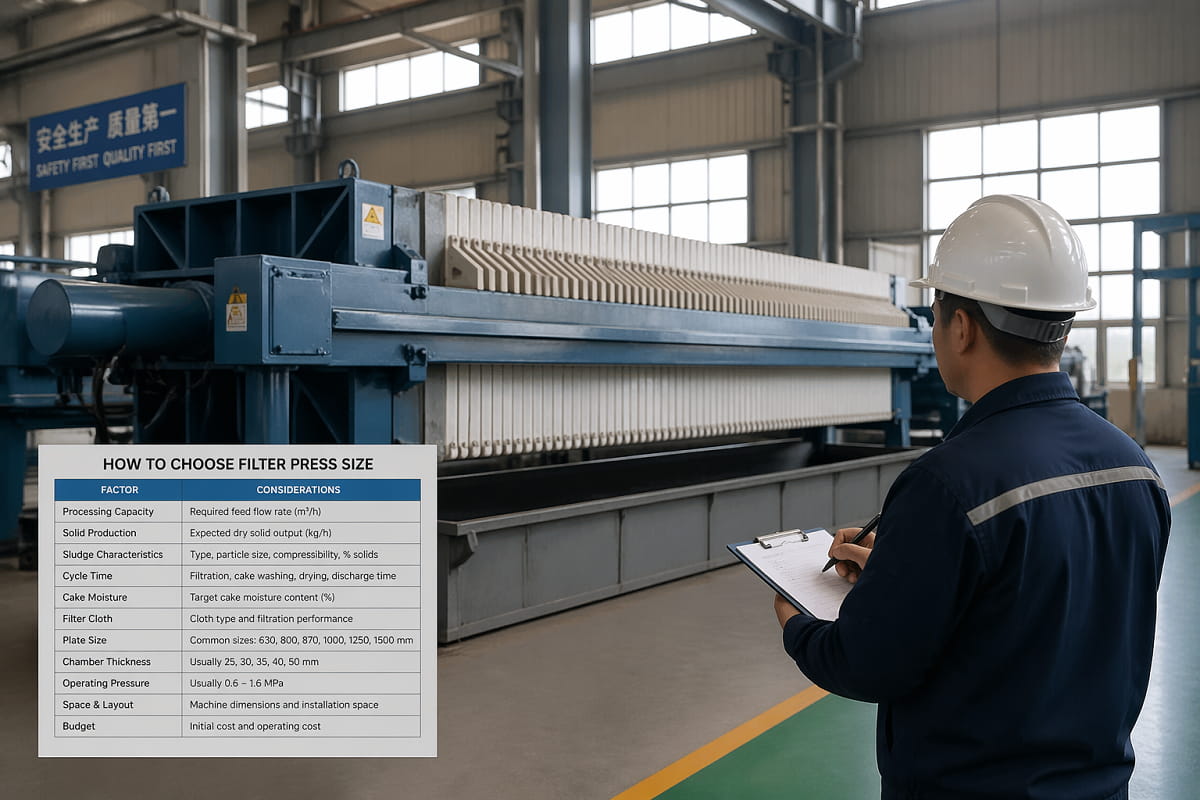
That’s why how to choose filter press size correctly is critical for any operation dealing with solid-liquid separation. Get it right and you’ll optimize production, minimize costs, and avoid headaches down the road.
Why Filter Press Sizing Matters More Than You Think
Here’s the deal:
A properly sized filter press can make or break your operation’s efficiency. I’m talking about the difference between smooth, profitable production and constant equipment issues that drain your budget.
Think about it this way:
An undersized press forces you to run more cycles. More cycles mean more labor costs, more wear on equipment, and less time for actual production. One chemical plant I worked with was running their press 24/7 just to keep up. Their maintenance costs were through the roof.
On the flip side, an oversized press wastes capital and floor space. Plus, it often operates below optimal capacity, which increases your cost per unit processed.
The sweet spot? A filter press that matches your exact needs with room for growth.
The Key Factors That Determine Filter Press Size
Let me break down the essential factors you need to consider:
1. Solids Loading (The Foundation)
This is your starting point. Always.
You need to know:
- Total dry solids per day (measured in tons or pounds)
- Peak vs. average solids load
- Future production increases
Pro Tip: Base your calculations on peak loads, not averages. I’ve seen too many operations get caught flat-footed during busy periods.
2. Slurry Characteristics
Not all slurries are created equal. The physical properties of your material directly impact sizing:
- Solids concentration: Higher concentrations = larger required chamber volumes
- Particle size distribution: Finer particles need more filtration area
- Compressibility: Affects how thick your filter cake can get
- Chemical composition: Determines material compatibility
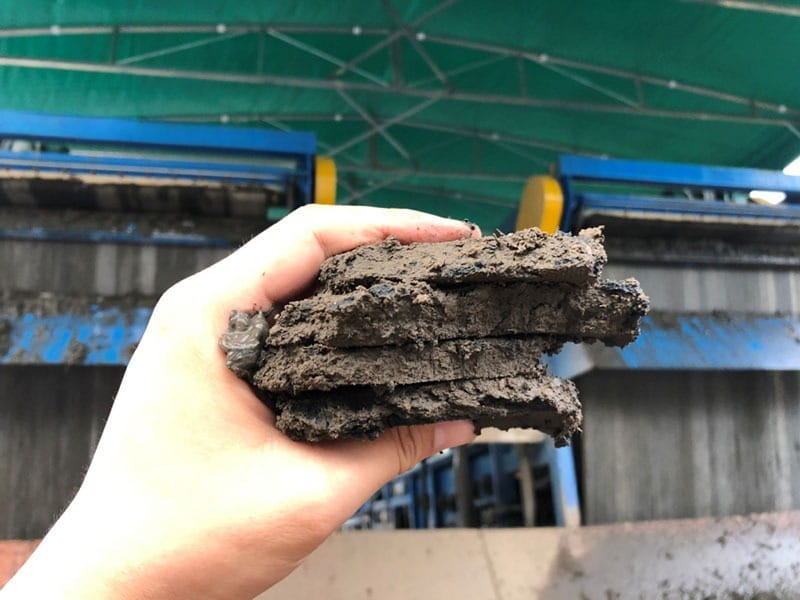
For example, a mining operation processing coarse material can use larger chambers than a wastewater plant dealing with fine hydroxide sludge.
3. Cycle Time Requirements
Here’s where many engineers mess up:
They calculate capacity based on theoretical cycle times. But real-world cycle times include:
- Filling time
- Filtration time
- Core blow (if applicable)
- Cake discharge
- Cloth washing (when needed)
A typical cycle ranges from 2-4 hours. But I’ve seen some applications take 6+ hours for difficult materials.
4. Operating Schedule
This one’s straightforward but often overlooked.
Running 24/7? You can use a smaller press.
Only operating 8 hours a day? You’ll need more capacity per cycle.
The math is simple: Daily volume ÷ Operating hours ÷ Cycles per hour = Required capacity per cycle
Step-by-Step Guide to Sizing Your Filter Press
Now let’s get into the nitty-gritty of actually sizing a press:
Step 1: Calculate Your Dry Solids Load
First, determine your dry solids in pounds or kilograms per day.
If you’re starting with wet sludge volume:
Dry solids (lbs/day) = Wet volume (gallons) × 8.34 × % solids ÷ 100
Step 2: Determine Required Chamber Volume
Use this formula:
Chamber volume (ft³) = Dry solids (lbs) ÷ Cake density (lbs/ft³) ÷ Cycles per day
Typical cake densities:
- Municipal sludge: 60-75 lbs/ft³
- Mining tailings: 75-100 lbs/ft³
- Chemical precipitates: 50-80 lbs/ft³
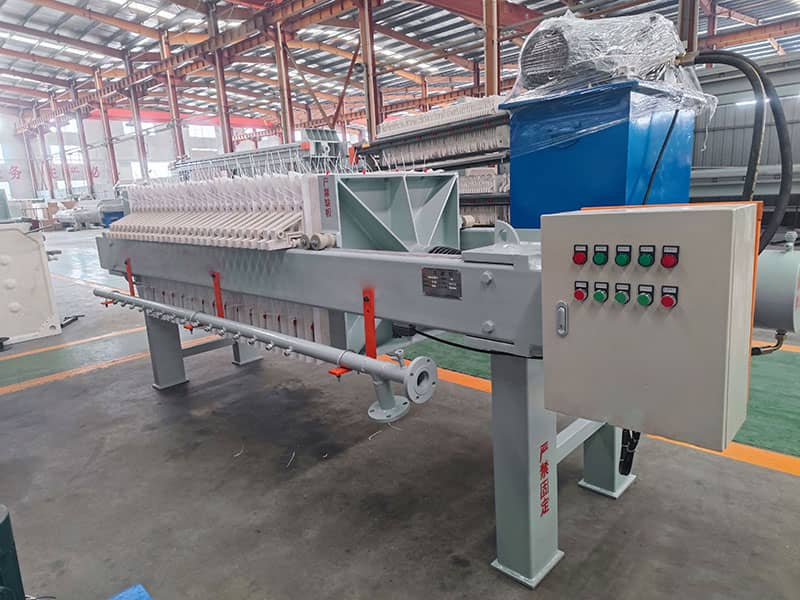
Step 3: Select Plate Size and Quantity
Here’s where it gets interesting.
Common plate sizes and their typical capacities:
| Plate Size | Chamber Volume | Typical Application |
|---|---|---|
| 470mm | 0.5-1.0 ft³ | Lab/pilot scale |
| 630mm | 1.5-2.5 ft³ | Small industrial |
| 800mm | 3.0-5.0 ft³ | Medium industrial |
| 1000mm | 6.0-10.0 ft³ | Large industrial |
| 1500mm | 15.0-25.0 ft³ | Mining/municipal |
The bottom line? Larger plates mean fewer plates total, which reduces maintenance but requires more overhead space.
Step 4: Factor in Growth
Always add 20-30% capacity for future expansion. It’s much cheaper to add plates to an existing frame than to buy a whole new press.
Common Sizing Mistakes (And How to Avoid Them)
I’ve seen these errors countless times:
Mistake #1: Ignoring Feed Pump Limitations
Your feed pump must handle the required pressure and flow rate. Many people size the press perfectly but forget about pump capacity.
Solution: Size your pump for 125% of maximum required flow at your target pressure.
Mistake #2: Using “Textbook” Cycle Times
Lab tests might show 60-minute cycles. Reality? Add 50% for real-world conditions.
Solution: Always pilot test with actual material when possible.
Mistake #3: Forgetting About Cake Thickness
Standard recessed plates create 32mm cakes. But some materials need different thicknesses:
- Sticky materials: 25mm
- Free-filtering materials: 50mm
Solution: Discuss cake characteristics with your supplier before finalizing plate selection.
Advanced Considerations for Optimal Sizing
Let’s dive deeper into factors that separate good sizing from great sizing:
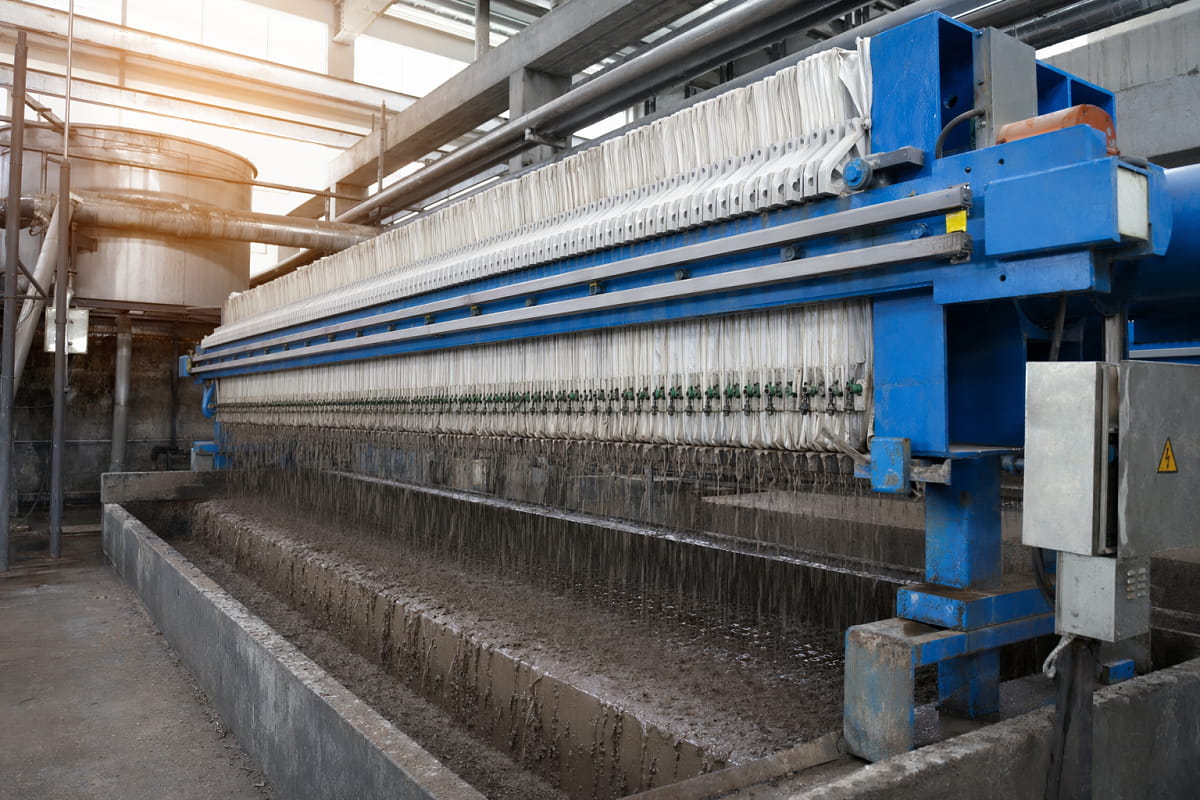
Membrane Plates vs. Recessed Plates
Membrane plates can squeeze additional moisture from compressible cakes. They cost more but can reduce cake volume by 20-30%.
When to use them:
- High disposal costs
- Need extra-dry cakes
- Compressible materials
Automation Level Impact
Manual presses need larger capacity to account for operator availability. Automated systems can run more cycles reliably.
My rule of thumb:
- Manual operation: Plan for 2-3 cycles per shift
- Semi-automatic: 3-4 cycles per shift
- Fully automatic: 4-6 cycles per shift
Special Features That Affect Sizing
Core blow systems: Reduce cycle time by 10-15 minutes
Dual feed ports: Cut filling time in half for large presses
Automatic cloth wash: Maintains filtration rates longer
Real-World Sizing Examples
Let me share some actual cases:
Example 1: Municipal Wastewater Plant
- Flow: 100,000 gallons/day at 3% solids
- Operating hours: 16 hours/day
- Target cycles: 4 per day
Calculation:
- Dry solids: 25,000 lbs/day
- Required volume: 25,000 ÷ 70 ÷ 4 = 89 ft³
- Selected: 1000mm press with 35 chambers (105 ft³ capacity)
Example 2: Chemical Manufacturing
- Batch process: 5,000 gallons at 8% solids
- Must process in 4 hours
- Difficult filtering material
Calculation:
- Dry solids: 3,336 lbs per batch
- With 4-hour limit: Need 60 ft³ minimum
- Selected: 800mm press with 40 chambers (80 ft³ for safety margin)
Making Your Final Decision
Here’s my process for finalizing filter press size:
- Run the numbers using actual data, not estimates
- Add safety factors for variability and growth
- Consider your constraints (space, budget, utilities)
- Get samples tested by equipment suppliers
- Visit similar installations if possible
Remember: The cheapest press isn’t always the most economical. Factor in operating costs, not just capital expense.
Key Takeaways for Successful Sizing
The most important points to remember:
- Start with accurate data on your solids loading and slurry properties
- Use realistic cycle times based on actual conditions
- Plan for growth with expandable frames
- Consider total cost of ownership, not just purchase price
- Test with real material whenever possible
Getting your filter press size right the first time saves money, improves efficiency, and prevents operational headaches.
Take the time to gather good data. Run the calculations carefully. And don’t hesitate to consult with experts who’ve sized hundreds of these systems.
Because when you nail your filter press sizing, everything else in your dewatering operation falls into place.
The bottom line? Learning how to choose filter press size properly is an investment that pays dividends for years to come. Get it right, and you’ll optimize your operation from day one.