Do you need to size a filter press, but you’re not sure where to start?
Here’s the deal: Sizing a filter press incorrectly can cost you thousands in wasted capital and lost production time. I’ve seen companies buy oversized units that sit half-empty, burning through electricity. And I’ve seen undersized presses become production bottlenecks that grind operations to a halt.
The good news? Sizing a filter press doesn’t have to be complicated. In fact, once you understand the core calculations and key factors, you can determine the right size with confidence.
In this guide, as a professional filter press manufacturer, I’ll walk you through exactly how to size a filter press for your specific application. No fluff. Just actionable steps you can use today.
Let’s dive in.
Why Filter Press Sizing Matters (More Than You Think)
Think about it this way:
A filter press is like a suitcase for your solids. Too small, and you can’t fit everything you need. Too big, and you’re lugging around unnecessary weight (and paying for it).
But here’s where it gets interesting:
A properly sized filter press can:
- Reduce your operating costs by 30-40%
- Minimize cycle times
- Maximize cake dryness
- Extend equipment life by years
The stakes are high. Which is why getting the sizing right from the start is crucial.
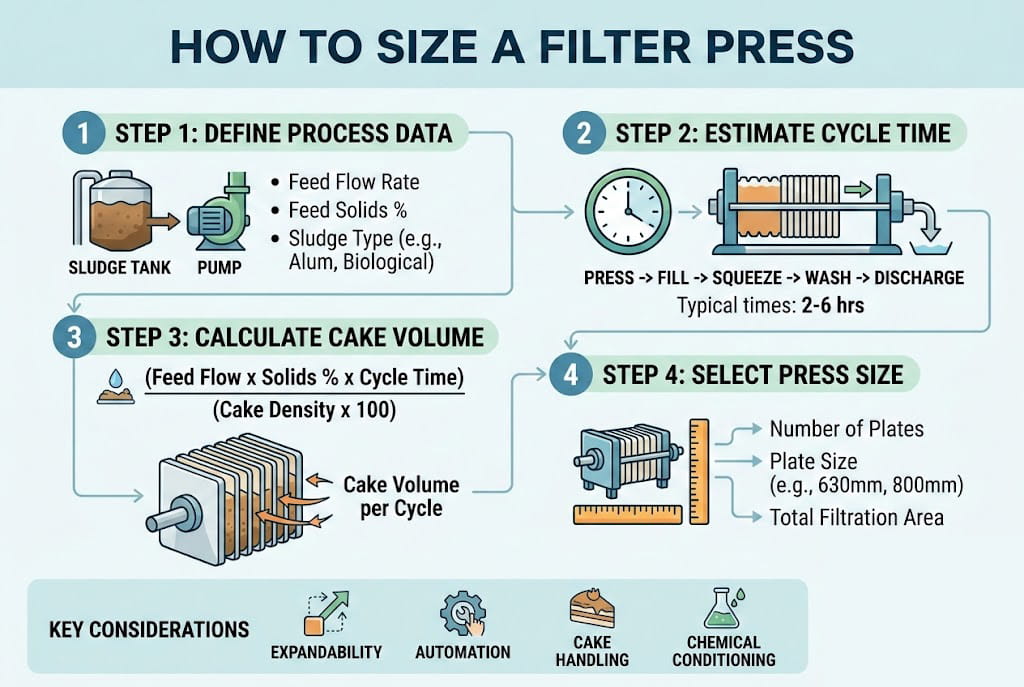
How to Size a Filter Press
Step 1: Calculate Your Total Cake Volume
This is where most people mess up.
They focus on the liquid volume they need to process. But that’s backwards.
Here’s what you actually need to know:
Your daily dry solids production.
Why? Because those solids determine your cake volume. And cake volume drives your filter press size.
Here’s the formula:
Total Cake Volume = (Dry Solids Weight) / (Cake Density × Cake Solids Concentration)Let me break this down with a real example:
Say you’re processing wastewater that produces 1,000 kg of dry solids per day. Your target cake has 30% solids content and a density of 1,200 kg/m³.
Your calculation would be:
Cake Volume = 1,000 / (1,200 × 0.30) = 2.78 m³That’s your daily cake volume. But we’re not done yet.
Step 2: Determine Your Cycle Requirements
Now comes the timing piece.
How many cycles can you run per day?
This depends on:
- Your operating hours
- Your target cycle time
- Maintenance requirements
A typical cycle includes:
- Chamber filling (10-15 minutes)
- Filtration (30-120 minutes)
- Core blow/squeeze (15-30 minutes)
- Cake discharge (10-20 minutes)
Pro tip: Always add a 20% safety margin to your cycle time estimates. Equipment doesn’t run at 100% efficiency in the real world.
Let’s say your total cycle time is 90 minutes. In an 8-hour shift, that’s roughly 5 cycles per day.
Now divide your daily cake volume by cycles:
Volume per cycle = 2.78 m³ / 5 = 0.56 m³That’s your minimum chamber capacity requirement.
Step 3: Factor in Your Slurry Characteristics
Here’s where things get nuanced.
Not all slurries behave the same. And these differences directly impact your press sizing.
Key factors to consider:
Particle Size Distribution
Fine particles (< 10 microns) create dense, low-permeability cakes. You’ll need:
- Longer cycle times
- Higher pressure capabilities
- Potentially larger filter area
Coarse particles drain faster but might require different cloth specifications.
Compressibility
Highly compressible solids (like biological sludges) can fool you. They might seem to dewater quickly at first, then hit a wall.
For compressible materials, consider:
- Membrane squeeze technology
- Lower initial feed pressures
- Extended filtration times
Chemical Conditioning
Are you adding polymers or other conditioning agents? These can dramatically improve dewatering but also affect your sizing calculations.
Properly conditioned sludge might reduce your required filter area by 30-50%.
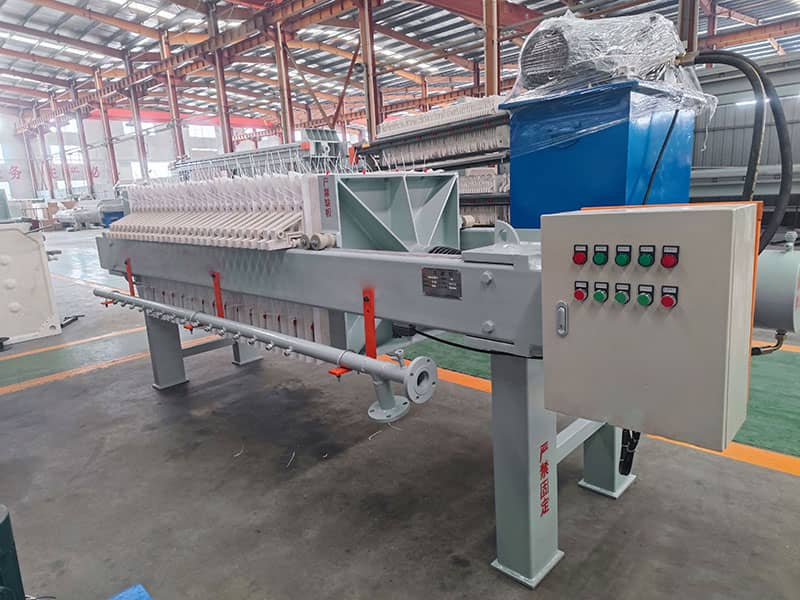
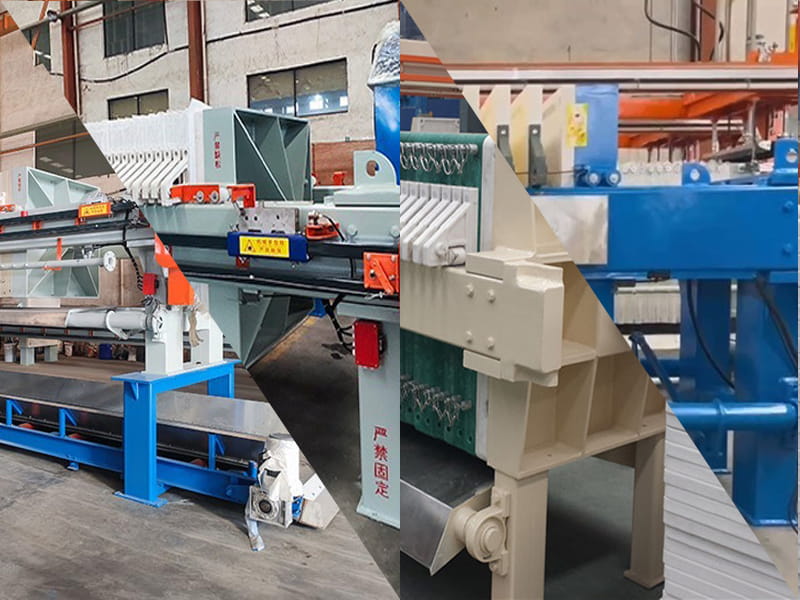
Step 4: Select Your Plate Size and Configuration
Now we translate volume into hardware.
Common plate sizes include:
| Plate Size | Typical Chamber Depth | Volume per Chamber |
|---|---|---|
| 630mm | 30mm | 0.015 m³ |
| 800mm | 30mm | 0.025 m³ |
| 1000mm | 30mm | 0.040 m³ |
| 1200mm | 40mm | 0.070 m³ |
Using our example of 0.56 m³ per cycle:
With 800mm plates: 0.56 / 0.025 = 22.4 chambers (round up to 23)
But here’s the thing:
Don’t just pick the configuration that barely meets your needs.
Consider:
- Future expansion plans
- Variation in feed characteristics
- Maintenance downtime
- Peak production periods
I typically recommend sizing up by 15-20% from your calculated requirement.
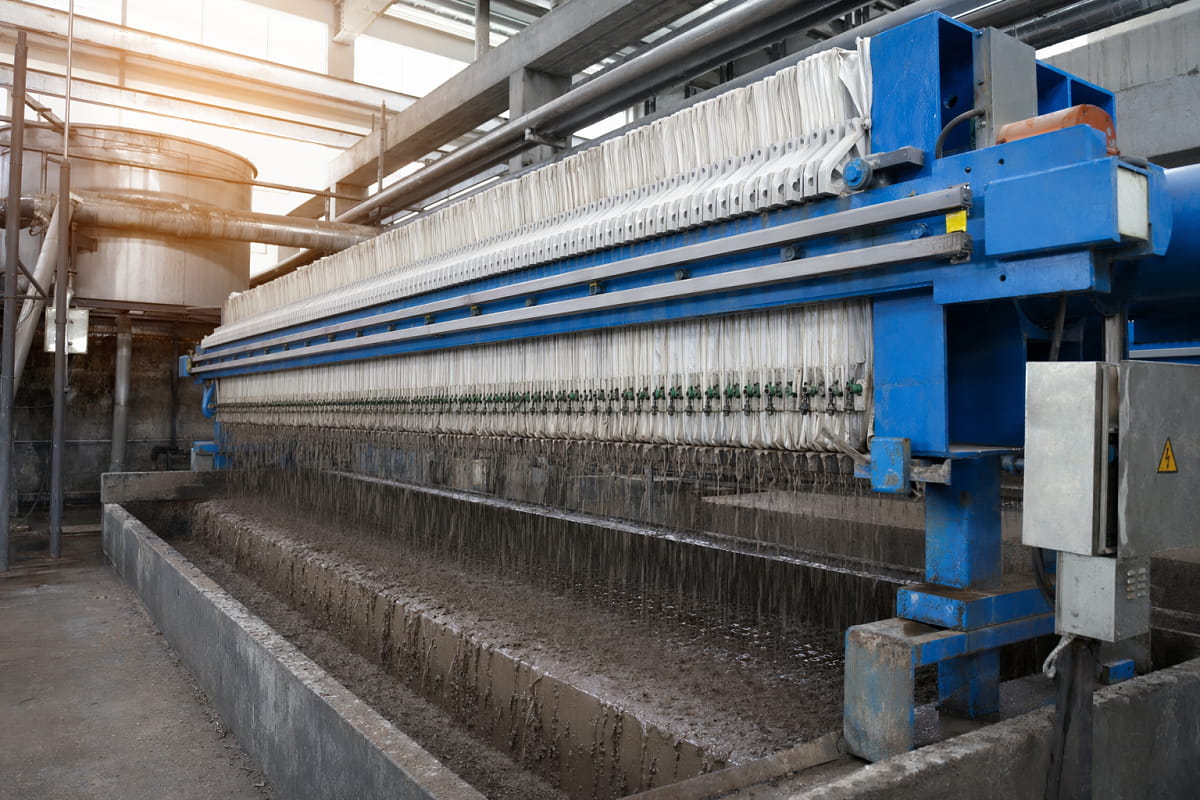
Step 5: Evaluate Your Filtration Area Needs
Volume tells only half the story.
You also need sufficient filtration area for proper dewatering.
The calculation:
Required Area = (Flow Rate × Cycle Time) / (Specific Filtration Rate)Specific filtration rates vary wildly:
- Easy-filtering minerals: 50-200 L/m²/hr
- Municipal sludge: 10-50 L/m²/hr
- Difficult chemical sludges: 5-20 L/m²/hr
This is where pilot testing becomes invaluable. Nothing beats real data from your actual slurry.
Common Sizing Mistakes (And How to Avoid Them)
I’ve seen these errors countless times:
Mistake #1: Ignoring Seasonal Variations
Your summer flows might be 20% higher than winter. Size for peak conditions, not averages.
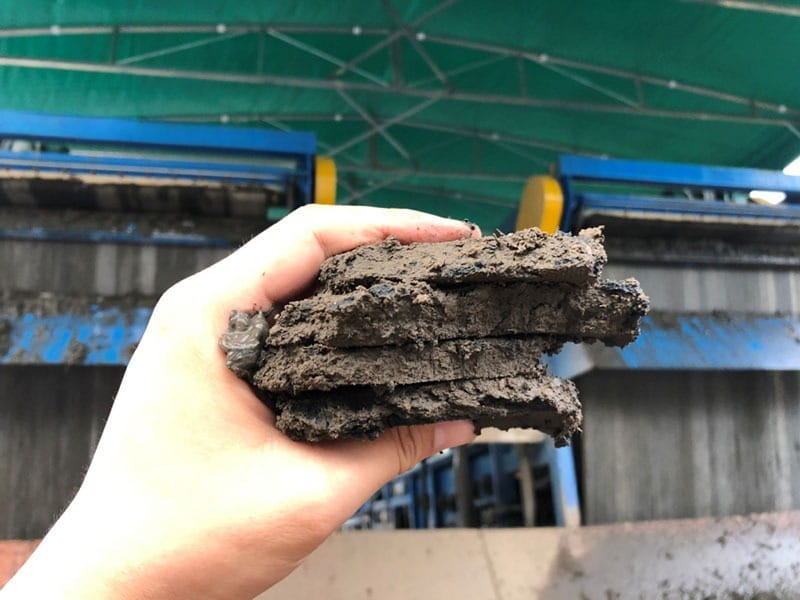
Mistake #2: Forgetting About Cake Thickness
Standard recessed plates give you 30-32mm cakes. But membrane plates can squeeze down to 25mm or less.
Thinner cakes = more cycles needed = larger press required
Mistake #3: Underestimating Cloth Blinding
Fresh cloth performs differently than cloth after 6 months of service. Build in capacity for reduced performance over time.
Mistake #4: Skipping the Cost Analysis
A larger press costs more upfront but might save money through:
- Reduced labor (fewer cycles)
- Lower chemical usage
- Better cake dryness (lower disposal costs)
Run the total cost of ownership, not just the capital cost.
Advanced Considerations for Optimal Sizing
Once you’ve nailed the basics, consider these factors:
Automation Level
Fully automated presses can run more cycles per day. This might allow for a smaller press size while maintaining throughput.
Pre-treatment Options
Sometimes it’s smarter to improve your slurry characteristics than to buy a bigger press. Options include:
- Gravity thickeners
- Dissolved air flotation
- Chemical conditioning systems
Integration with Existing Systems
Your filter press doesn’t operate in isolation. Consider:
- Feed pump capacity
- Cake handling systems
- Filtrate management
- Available utilities (air, water, power)
Real-World Sizing Example
Let me show you how this all comes together.
A food processing plant needs to dewater 50,000 gallons per day of biological sludge at 3% solids.
Step 1: Calculate dry solids
- 50,000 gal × 8.34 lb/gal × 0.03 = 12,510 lb/day dry solids
Step 2: Determine cake volume
- Target: 25% cake solids, 65 lb/ft³ density
- Volume = 12,510 / (0.25 × 65) = 770 ft³/day
Step 3: Calculate cycles
- 16-hour operation, 2-hour cycles = 8 cycles/day
- Volume per cycle = 770 / 8 = 96.25 ft³
Step 4: Select configuration
- 1200mm plates with 40mm chambers
- Each chamber = 2.5 ft³
- Required chambers = 96.25 / 2.5 = 38.5 (round to 40)
Step 5: Verify filtration area
- 40 chambers × 2 sides × 10.8 ft²/side = 864 ft² total
- Adequate for the expected filtration rate
Result: 1200mm press with 41 plates (40 chambers)
The Bottom Line on Filter Press Sizing
Getting your filter press size right isn’t rocket science. But it does require attention to detail and understanding your specific application.
Remember:
- Start with your dry solids, not liquid volume
- Factor in realistic cycle times and operating schedules
- Consider your slurry’s unique characteristics
- Build in appropriate safety margins
- Think long-term about operating costs, not just capital
The most expensive filter press is the one that doesn’t meet your needs—whether it’s too big or too small.
Take the time to work through these calculations properly. Better yet, work with experienced suppliers who can validate your assumptions with pilot testing.
Because when you nail the sizing, your filter press becomes a reliable workhorse that delivers consistent results, day after day.
That’s how you achieve maximum efficiency and ROI from your dewatering investment.
Ready to put these principles into practice? Start by gathering accurate data on your current solids production. From there, you can work through each step methodically to determine exactly how to size a filter press for your operation.